May 18, 2011

Transom work continues

Removed the clamps, sanded and prepped the 4th layer. I will inject epoxy into all the holes before adding the final layer of marine plywood.


I cut out the final layer of wood today. I will be installing it soon.


I will be tabbing in the transom with multiple layers of 1708 Biaxial Fiberglass. The widest might be 8inches wide. I only had 5inches cleared on the bottom so today I increased it to about 9inches. Tabbing in the transom to the sides and bottom of the hull gives the transom strength. This is a before pic
.

This is after.

May 17, 2011

Transom Wood Install

I added some filler and smoothed out the rear skin to make it as flat as possible.


I created a template out of brown bags. I will use this to cut out the wood. 

I first laid a layer of chopped strand mat fiberglass. 

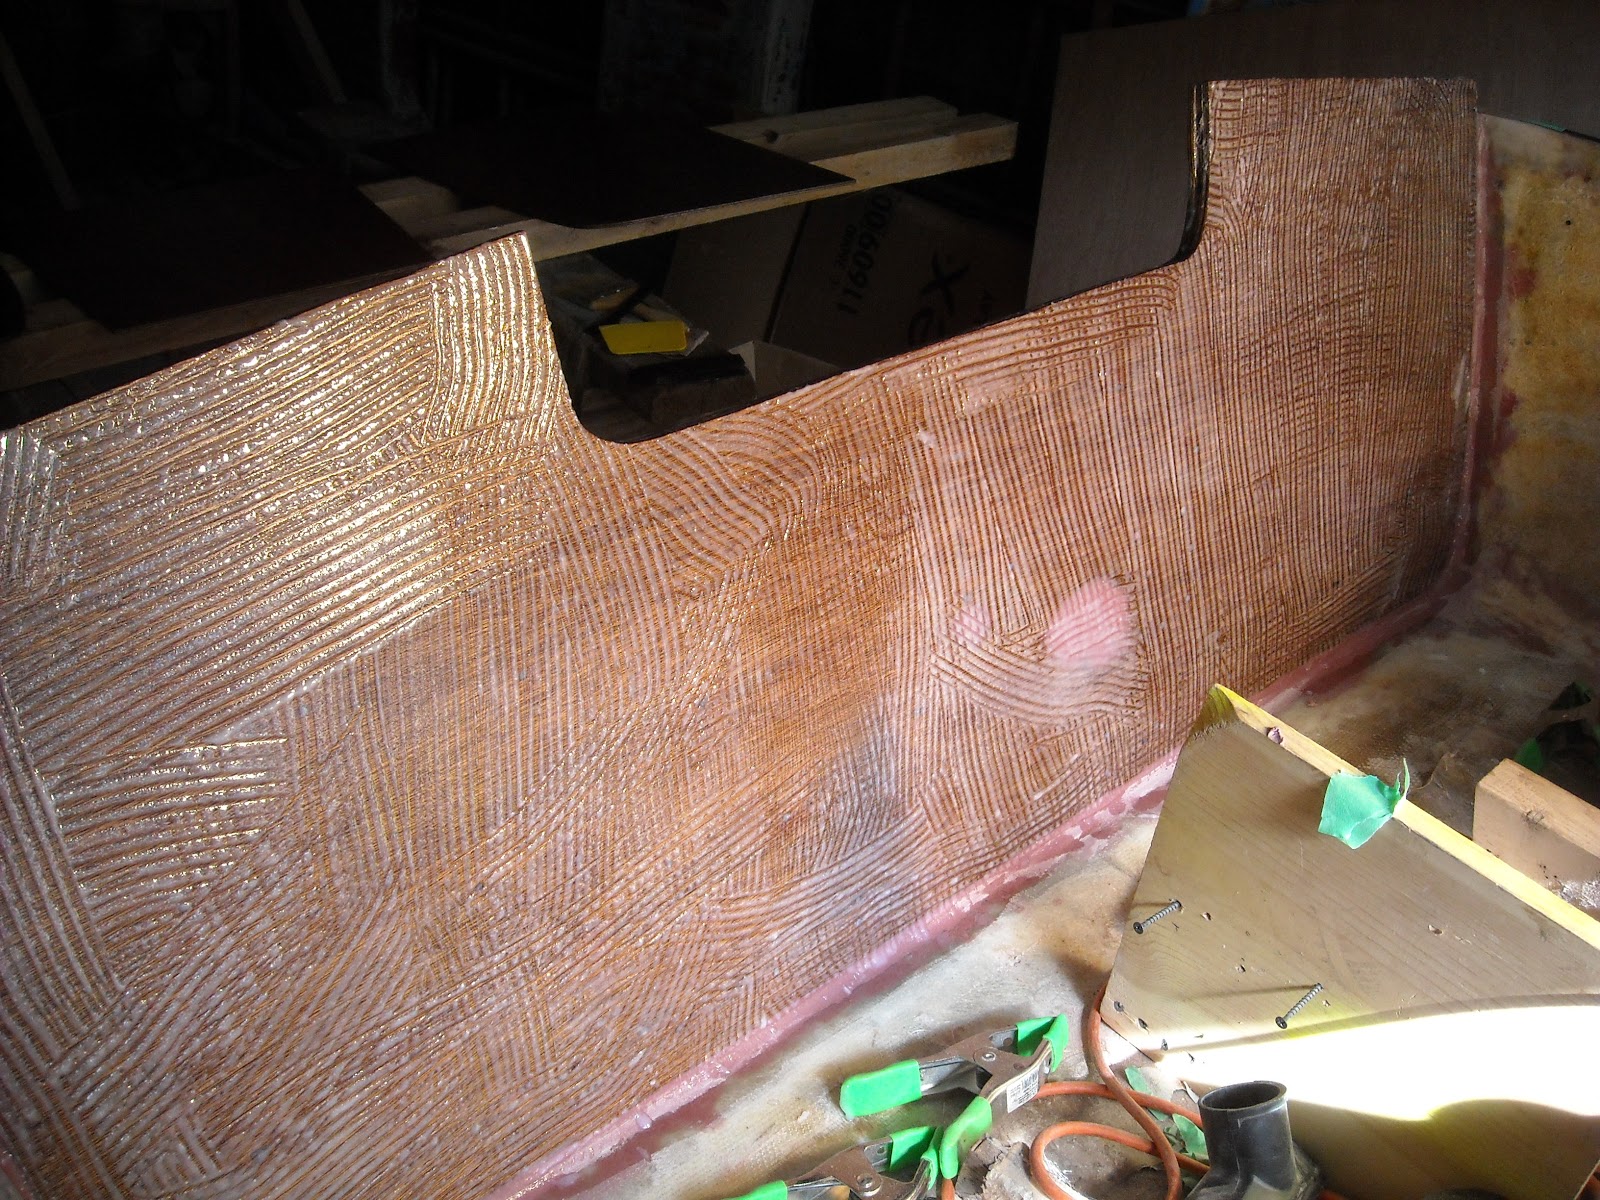
Coated the first piece of wood with Epoxy. This wood looks amazing. I am using Hydrotek Marine Plywood. You can read about all its great qualities here. Click Hydrotek


Installed and clamped the first piece of wood. I used bracing to retain the curve of the transom. Don't worry, all screw holes will be filled with thickened epoxy.


Let it dry overnight, removed bracing, filled and sanded screw holes, and filled in the space on the side and bottom with epoxy and fillers. That space eliminates stress points. If you butt the wood against the hull, it can create a stress point. 


I added layers 2 and 3 in one shot to reduce time. This did however make a little tougher to bend the wood. It also created a few air pockets that I needed to repair. 


Changed the template to reduce the space on the bottom and sides for the next layer.


The 4th out of 5 layers. I cut the wood this way for two reasons; one to maximize the wood we did buy, the other was to rotate the grain 90 degrees. This adds strength.


I didn't take a picture of this until now. This is the thickened epoxy that is sandwiched between each layer.

This is the fourth layer. I used a little more screws this time. The screw holes however do not go through the rear skin. I will inject epoxy into each one before moving on. 


I need to add one last full sheet of plywood then it will be ready for fiberglass. Yeah!!

Paint Removal

Removing the paint sounded like a good idea before we started. I was told it was a 70's metallic Corvette paint. It had some minor bubbling underneath it in some spots and there was this other brown color painted over top in the back and in between the lines. I felt the fake wood look would have made it too hard to sand the old paint off. Paint stripper seemed like it would be an easy way to remove it. Slap it on, wait, then power wash it off. HAHAHA. Wrong. After two different paint strippers, it seems like we hardly made a dent. This Corvette paint seems indestructible. We ended up using Aircraft Fiberglass Paint Remover. The first was called Aqua Strip Marine. It did nothing.


Then we moved onto the Aircraft Paint stripper. This had better results.


This is the end result. This is all the stripper could remove. I guess you never know what lies beneath. A couple layers of paint, primer, patch jobs and now some bare fiberglass. So, now I need to sand, fill and patch, etc. Ughhhh. In the long run, it will be worth the effort. I hope...